Saturday, May 7, 2011

Day 127 and Sakura


Sakura means cherry blossom tree. The lovely light pink petals bloom heartily in Japan and are celebrated during the spring with many festivals and parties and in this case, a scarf.

Sometimes what would otherwise be a very plain scarf is made extremely special with small enhancements. I've used very tiny appliques to represent the blossoms and simple embroidery for the branches. I think it's beautiful and am very proud of how it turned out.

Sakura
Size J hook
Fingering or Dk weight yarn: 3oz. white, scant amounts of black and pink (I used an unlabeled yarn with a slight halo and if I made this scarf again, I would definitely choose another haloed yarn)
Tapestry needle

Begin by chaining 28. DC (dbl crochet american) into the 4th chain from hook and each chain across. *Chain 3, turn, DC in second stitch and every stitch across.* Repeat until the scarf is the length you prefer or until you've run out of white yarn.

Blossoms: Make a magic circle, chain 2, SC (sngl crochet american) into the center 5 times. tighten the circle, slip stitch to join a ring, and tie off. Make between 7 and 12 of these depending on how dense you wish your blossoms to be.

Using black yarn, stem stitch branches on one side of the scarf. Sew the blossoms to the branches focusing on the places where the branches split and the very ends of the branches. I like to leave a couple blossoms unattached to look as though they have come free and are floating to the ground.

Sew in all loose ends.

Friday, May 6, 2011

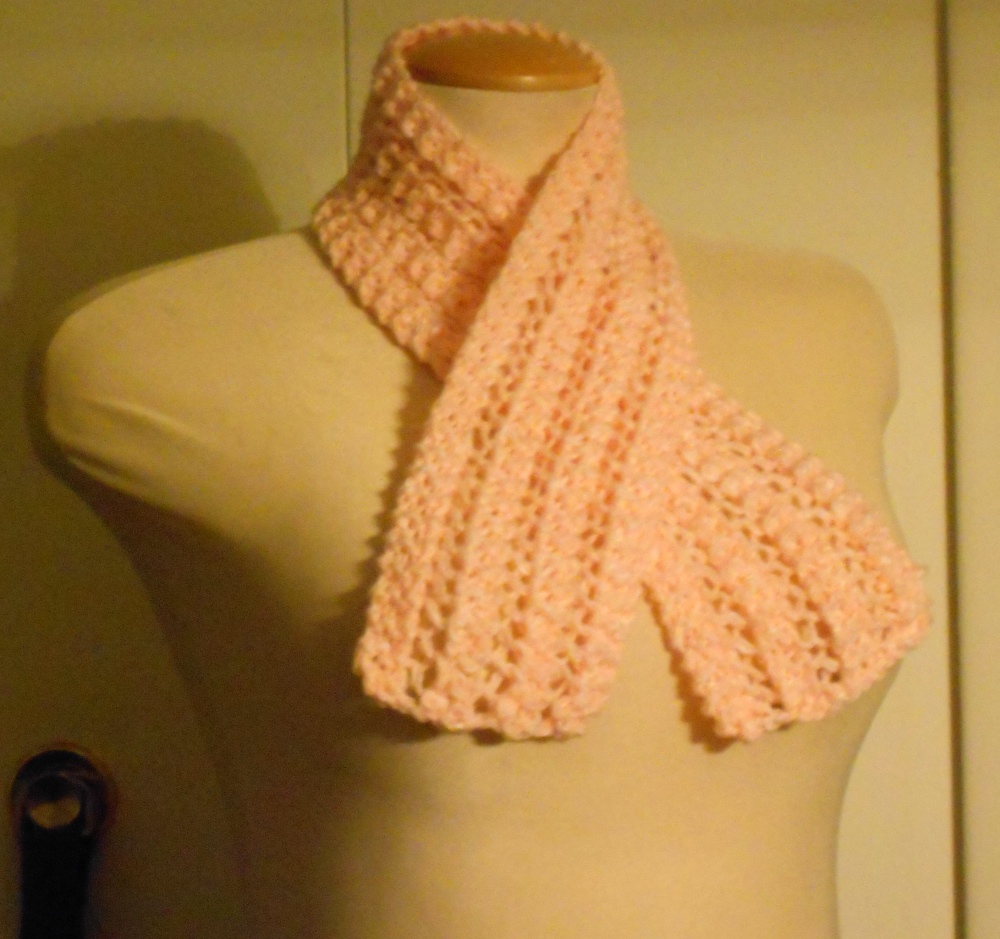
Day 126 and Faggotted Lace


No giggling now! That's what it's called! This is an easy stitch pattern that makes lovely little lacey ladders. And apparently amazing alliteration. Anyway, cast on any multiple of 4 stitches plus 2 with any yarn you like and any needle that is a good match for your chosen yarn (eg worsted weight would work well with size 8 through size 10 needles)

Every row is as follows: *K2, K2tog, YO* repeat ending with K2.

Thursday, May 5, 2011

Day 125 and Rayon


I found this glorious piece of printed rayon fabric who knows how long ago, but as an extremely amateur seamstress I have no experience with it. As with any craft or skill you can't get better unless you practice.

So the great thing about rayon is that it's construction is just like jersey knit. You can cut it and it won't unravel. Even better, it doesn't roll up. But just cutting a piece of fabric doesn't seem like much of a project, so I decided to put a border on it. Rayon is a very slippery fabric and a stretchy one as well. Since I don't know any better, the best thing a novice like me could hope to do in just one evening was a faux border. And this works with any fabric that doesn't unravel too.

Set your machine to a short and slender zig zag stitch and top stitch about an inch from the edge all the way around. It's simple and it's completely brainless, but it gives an otherwise unfinished piece of fabric a completed look. For fabrics that aren't so stretchy, a straight stitch would be fine, but I needed a little bit of give to prevent the rayon from puckering up and that's why I think a zigzag works a bit better in this case.

Wednesday, May 4, 2011

Day 124 and Ramen


I had originally called this True Moebius, but when Kevin mentioned that the stitch pattern looked like ramen noodles, I couldn't disagree at all.

This was my very first attempt at a true moebius piece of knitting and it was really fascinating to see how it knitted up. If you know the moebius cast on, the only other thing you need to know are knits, purls, and cast off.

Ramen

1 ball Katia Samoa
Size 13 needles, circular, 48 inches
Tapestry needle
Stitch marker

Using the moebius method, cast on 90 sts. (Remember, only count the stitches on the top needle)
Carefully spread the stitches around the needle.
Round 1: Knit every stitch. PM
Round 2 et all: Knit1, Purl1 around. Pass marker. (repeat this row until you're near the end of the ball. Save enough to bind off 180 sts.)
If you counted your stitches properly, this will make a continuous seed stitch and to be honest you don't really need the marker unless you're adamant about keeping both "sides" of the round even.
BO in your prefered method. I find a stretchier cast off is the most attractive of for a standard cast off, use a needle at least one size larger.

Tuesday, May 3, 2011

Day 123 and the Bolero


OFFICIALLY PASSED 1/3 OF THE WAY THROUGH THE YEAR!
Yaaaay!

Sorry, got excited there for a minute. So the other big announcement is I finally bought a new camera!!! YAY!! But it won't be here for at least a week. Boooo. Oh well. I know that much better pictures are in my future and I'm pretty thrilled about that.

As for today's scarf, I'm still thinking up ways to make the crummy tube that comes out of the toy knitting machine more special. This time I separately knitted a very small rectangle and sewed it into a tube. Using it as a holder holds this shorty scarf in place like a bolero necktie. I suppose the hand knit piece could double as a napkin ring haha!

Monday, May 2, 2011

Day 122 and Socks


Sock yarn is wonderfully resilient and many brands have a little bit of elastic or nylon for stretch. I think it gives a lovely bouncy feel to the yarn that needn't be over worked.

This scarf is a very easy stockinette stitch strip made from sock yarn. The stitches are smaller than most of the scarves I've done so this is one project you couldn't fit in just a day. I always have a couple projects going at a time so I'm sure I'll have something to show off the next day. I did a bit of garter stitch on each edge and while I could block this flat, I think the way the garter causes it only to fold and not to curl is rather attractive and even emulating a rugby scarf. (I don't think it's an actual term, but it's what I use. To me it means a scarf that exactly matches a rugby sweater and they usually come as a set)

Sunday, May 1, 2011

Day 121 and The Whole Nine Yards


Maybe that's an exaggeration. But it certainly only took about 19 yards of some Lion Chenille Thick and Quick to make this collar style scarf. The key to getting the most out of your last little bits of yarn is efficiency! I've had this gauzy neckerchief for a while, but I can't remember the last time I wore it. I decided adding it to this too short bit of knitting would turn two pieces of non-functional fabric into one piece of repurposed love! Best of all, I managed to use a very very small amount of scrap yarn saving it from the bin as well as making a scarf that didn't cost a single dime and barely took a lick of time.

7 stitches wide and only about 20 inches long, this is nothing more than stockinette stitch on size 19 needles. The stitches are loose enough to thread the unloved kerchief through any stitch I so choose. For this photo, I threaded it through the center stitch at each end of the scarf and just tied a bow. I could also have woven it in and out the length of the knitting and just tucked the ends through each other for a different look.