Tuesday, April 5, 2011

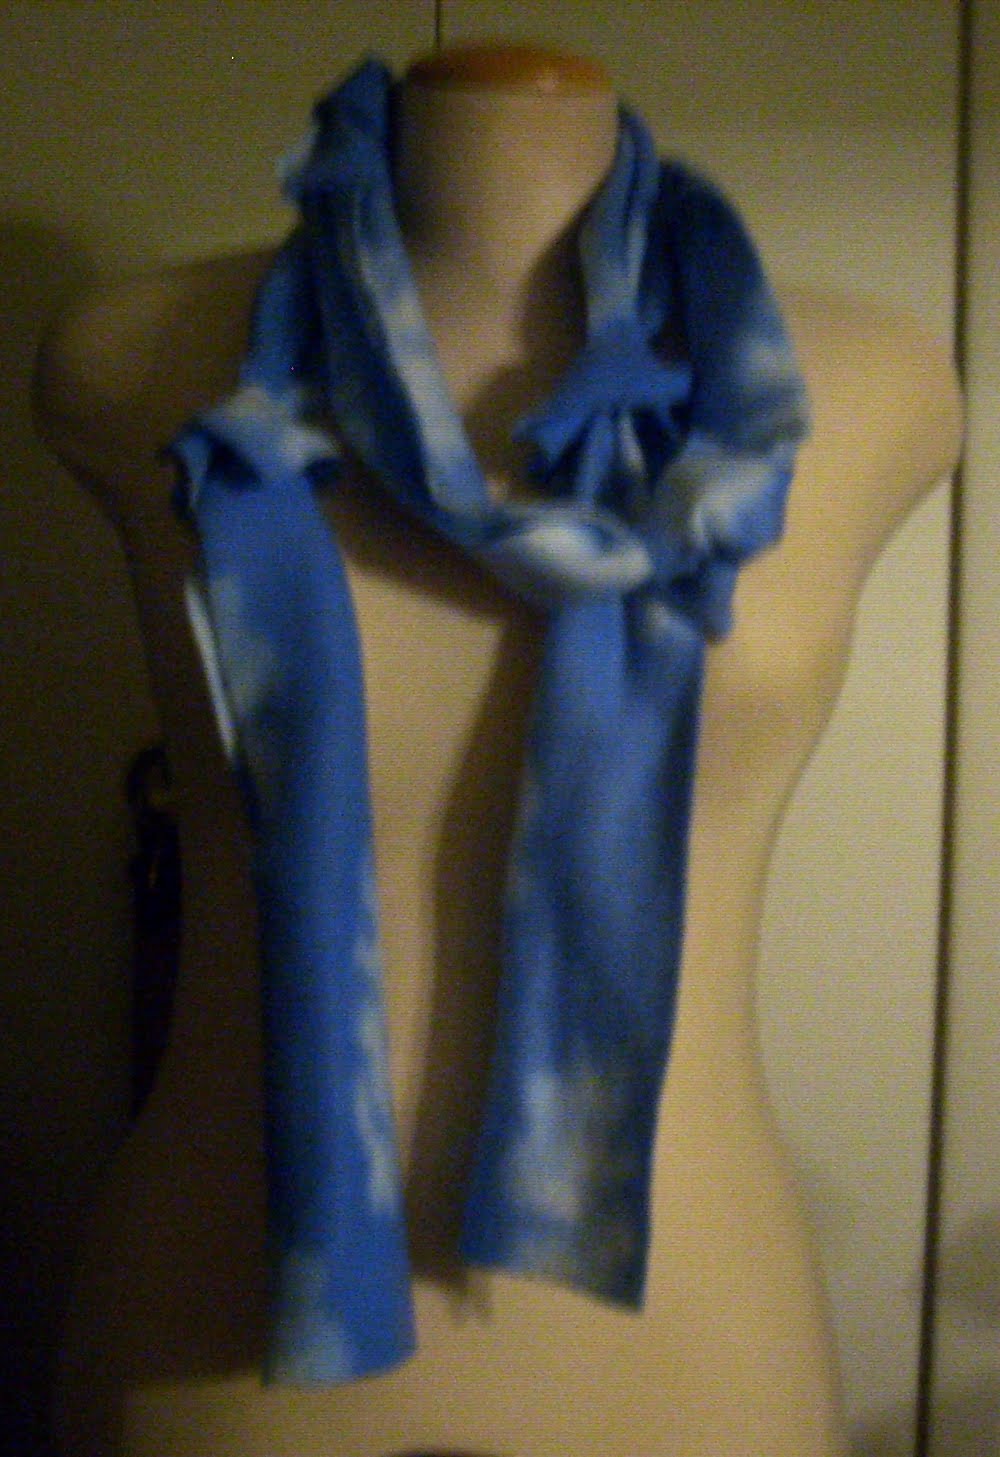
Day 95 and the Tassel


I definitely need to download myself a pdf writer. This one was easy to make, but complicated to write out a pattern. When I manage to translate my notes and when I learn to contribute on ravelry, I'll make this one a download. :)

As far as specs, this is a crochet piece and there are large clusters that form dimensional bobbles all the way around. They remind me of the black leather punk neck pieces with spikes, but in blue and snowy fluff, the scary is completely taken away. The real focal point though is the giant tassel that acts as the button for this keyhole style scarf. The novelty yarn was looped many times around a set length but the ends were not cut. Leaving them looped prevented the novelty yarn from unraveling. The top of the tassel was crocheted and the loops were packed into the head.

I love the style and will definitely make another for myself.
Special thanks going out to Stacey from The Original Yarn Salad for being so awesome and gifting me with a huge amount of yarn for this project!

Monday, April 4, 2011

Day 94 and the Escape Route


By now you're probably wondering just how much more of this blue sky with clouds fleece does this woman have?? I swear to you it was just a remnant! The fact that remnants can last so darn long is a testament to the fact that you really can find good deals in the bargain basement!

If you've ever watched a cartoon or a farce of an escape movie, and I'm sure you have, then I expect you've seen the traditional escape line of a row of bedsheets tied at the corners and used as a rope out some window somewhere. Now if I really just tied a bunch of short ends together I would have ended up with some pretty large, hard, and uncomfortable knots. Instead I used a very simple loop technique which give the illusion of knots but leaves the "knot" supple and comfortable.

First, cut a small slit near the end of each of two pieces that will be connected and place one piece on your left and one on your right.
Second, thread the left fabric through the slit in the right fabric.
Third, feed the opposite end of the right fabric through the slit in the left fabric.
Repeat all three steps in a chain until you've worked as long a scarf as you'd like. This also works very well with jersey knit (t-shirt) and anything other fabric that doesn't unravel. You could also knit or crochet pieces with a large slit or hole near the ends and weave them in the same way.

Sunday, April 3, 2011

Day 93 and Tim Burton


I had originally hoped to have made this scarf even longer, but one of the restraints of the challenge I've given myself is the demand for at least one scarf every single day. I cut it short just to meet my deadline.

To me, nothing says grim but whimsical, smart but ridiculous, funny but scary more than Tim Burton. He directed such classics as Sweeney Todd, The Nightmare Before Christmas, and Beetlejuice and in all three you'll find an example of grim fashion necessity, the evenly spaced black stripes. (On a separate but related topic, Burton films make for fun knitting games. There are a number of key features that can be found in many and sometimes all of his films which would be a terrific set up for a trigger. Learn more about game knitting with leethal)

This scarf is essentially the Oneone once again, but with two colors taking turns every two rows. This way the opposite color can easily be trailed up the edge of the work and is relatively unnoticeable. I recommend this with any number of color combinations.

Saturday, April 2, 2011

Day 92 and Check Yourself


In some ways this is another type of granny stitch as double crochets are worked into chain spaces. I think of it as a checkerboard in which the checks can be as wide and long as you'd like them to be. Following is a very easy scarf recipe and it's only 5 rows wide.

Check Yourself:
Size K crochet hook
heavy worsted yarn 3 oz
Tapestry needle

Chain 98 (or to change the length, any multiple of 10+8)
Row1: DC in 4th and all following chains. Turn
Rows 2: Chain 3 (counts as first DC in this and all rows) DC in second stitch and next 8 stitches. *Chain 5, skip 5 stitches, DC in next 5 stitches* Repeat until only 5 stitches are left in the row and DC into each one (final stitch is in the chain since it counts as a DC) Turn
Row3: Chain 3, DC in second stitch and next 8 stitches. *5DC in chain space, Chain 5* Repeat until no chain spaces remain. Omit final chain 5 and DC in every stitch to the end. Turn
Row4: Chain 3, DC in second stitch and next 8 stitches. *Chain 5, 5DC in chain space* Repeat until no chain spaces remain. DC in every stitch to the end. Turn
Row5: Chain 3, DC in second and every following stitch, 5DC in every chain space. Cut yarn and tie off.

Weave in your ends and consider yourself golden. If you wanted to make this wider, just repeat rows 3 and 4 until you're happy with the width finishing with row 5 as normal.

2 Winners! February and March

I hope to continue to have one giveaway a month to relieve my ever growing collection of scarves.
Our winners during my game of catchup:
I typed in each name by hand into Random.org 's list feature and above are the results.

February's winner gpmonkey, Congratulations! Head over to the side bar and click through all the posts for February for the scarf you would like to have as your own.


March's winner penguinlover, Congratulations! Make your way to yonder side bar and click through all the posts for March to find the scarf you'd like to keep.

Upon returning home from work, I'll be sending emails to each of you!
Thanks to those who gave it a whirl! Stop by next month for another chance to win... well shoot, stop in every day so you can see the many scarves you might be able to claim as your own!

Friday, April 1, 2011

Day 91 and the Unwearable Scarf ... April Fools!


Call it a joke. Call it an art piece. Call it what you will, but it still falls under my guidelines of scarfitude! (A) It goes round the neck. (B) It either keeps one warm or decorates...decorate is a loose term here. I do find the slight pooling of color rather interesting!

Why is it unwearable? Because it's probably the least comfortable material one would ever attempt to put against the skin. It's plastic. Grocery bags or other flexible plastic cut into thin strips make what is known in the fiber community as "Plarn." I've made plenty of it myself and also posted 2 quick tutorials back in the day on making the stuff.

Most folks who use plarn at all would use it for rugs, purses, market bags, and sculpture. Every now and then you might see a "wearable" art piece and quite often they are rather spectacular. I don't know if the designers do something special to make the material softer or if they line it or if the models simply suffer, but as for this scarf, well... yeah...

April Fool!

Not you, but ME!! I've been keeping up this blog on a regular basis for a few months now and as a result I spend a bit of time reading other people's blogs.

It's so foolish of me that I've only been keeping the list in my blogger dashboard when I could easily be sharing the list of enjoyable blogs I read with other readers. The way I figure it, if I like it and you like me, then maybe you'll also like what I like. At least, that's the way it seems to go when I'm off reading other blogs.

Off to the right you'll see a section which is a list of links to other crafty, nerdy, fun, funny, ecologically sound, or just plain interesting blogs and sites that I visit and recommend. I won't sit here and do it all in one go, but a handful at a time there will be new recommendations.

If you think you and I have similar tastes, leave a comment to your blog or a blog that you like so that I might continue expanding my circle.